This question came up several times so I am happy to show you how you can create a DirectSmile Set with a variable background image. I want to create a Set where you can choose one of three different background images:
Here you can download the sample Set file that I created during this tutorial!
And here you can see how you could use that Set in a Cross Media campaign
1) Create a new Set, for the background image select (for example) the green image and create a new text frame.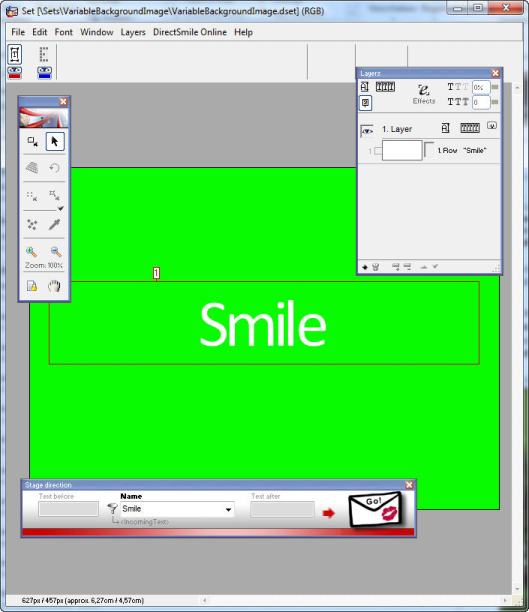
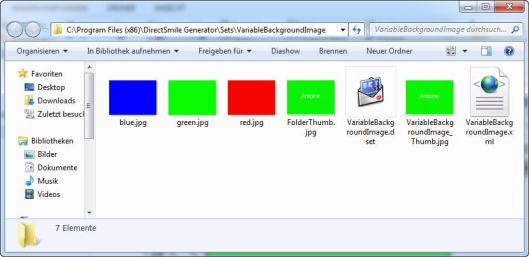
2) All possible background images must be in the Set folder.
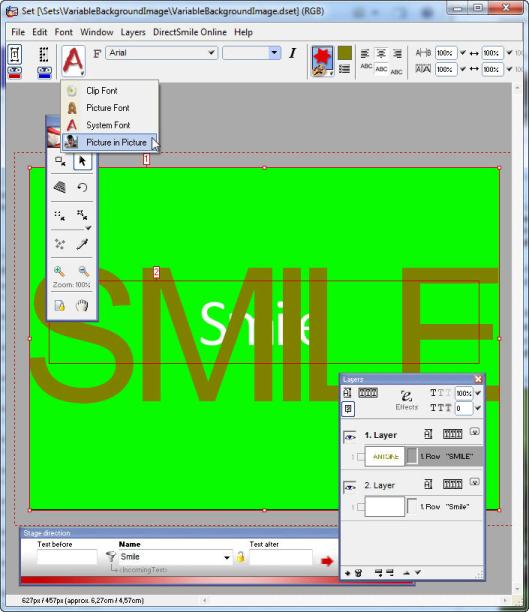
3) Create a new text frame as big as the background image and change the content to “Picture in Picture”.
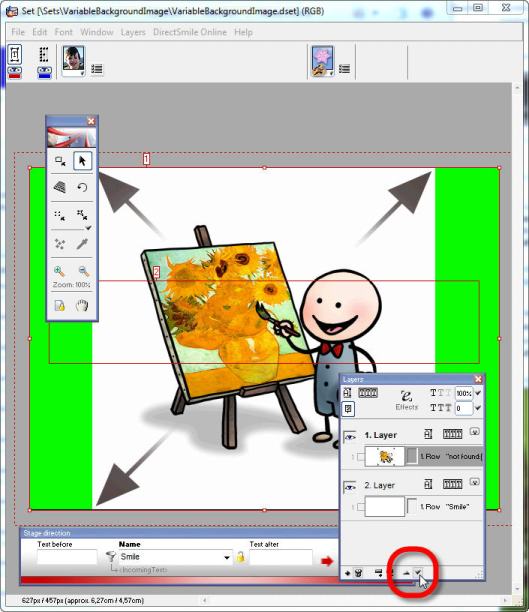
4) In the layer window click the down arrow to move the new layer behind the layer with the system font.
5) Open the Picture in Picture settings (1), enable the option “Fill out complete frame” (2) and select your current background image as the sample image (3). This ensures that the default image in the Picture in Picture frame is the green one.
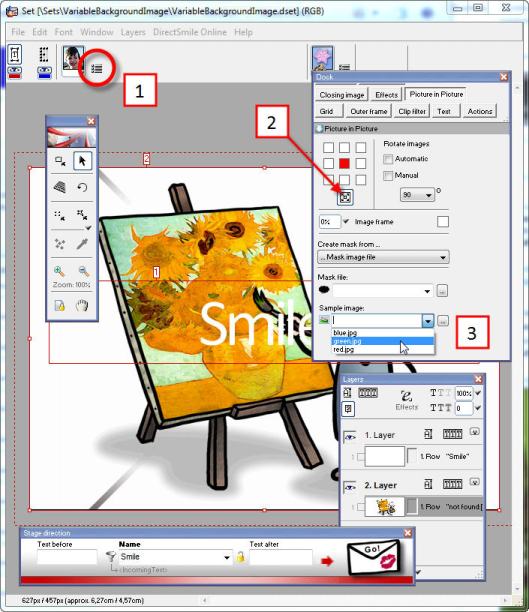
6) Now your prepared Set looks like this (in fact it looks exactly as in step #1 but now we have got the 2nd frame for variable images):
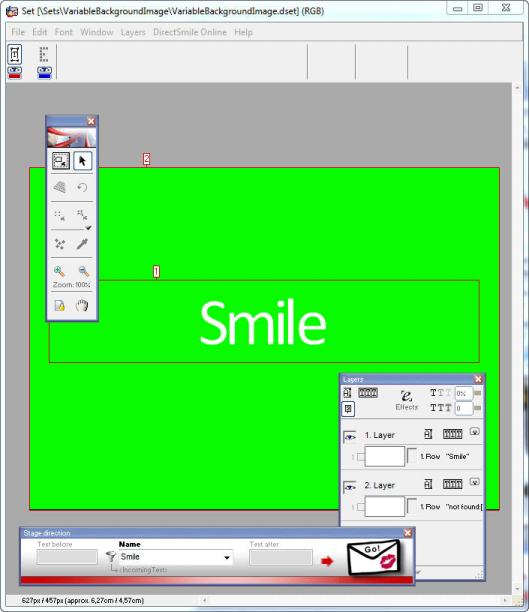
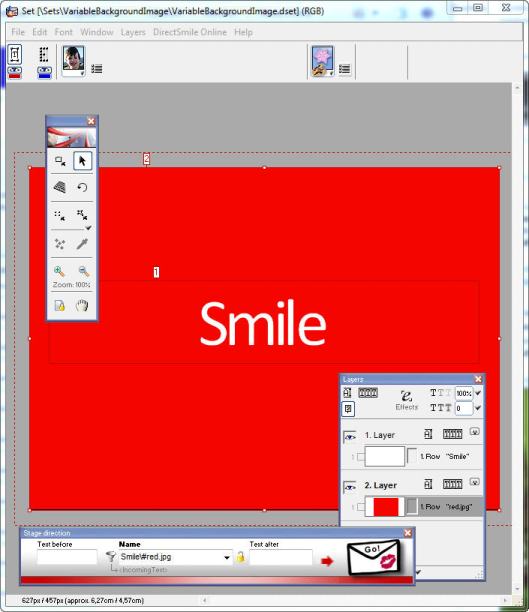
7) You can try the different background images by changing the text in the stage direction, e.g. Smile\#red.jpg (use the backslash hash to separate the content and you only need to enter the file name because DirectSmile can find the files if they are in Set folder).
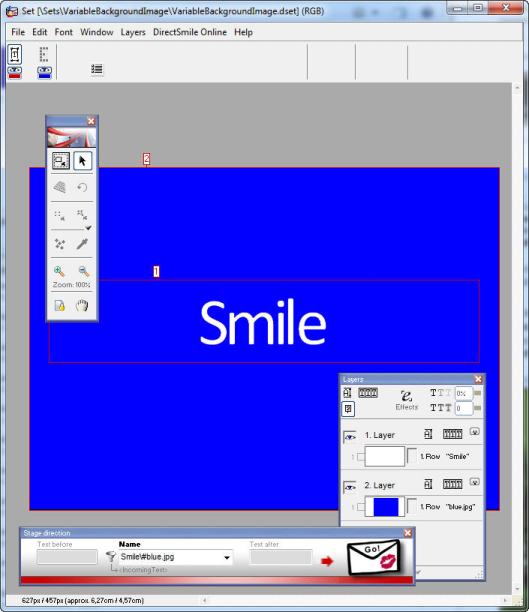
8) The same way you can try the blue one: Smile\#blue.jpg
VDP Studio
If you want to use this Set offline, the preparation is done. Simply place the Set in your DirectSmile document and assign the database columns that contain the firstname and the filename.
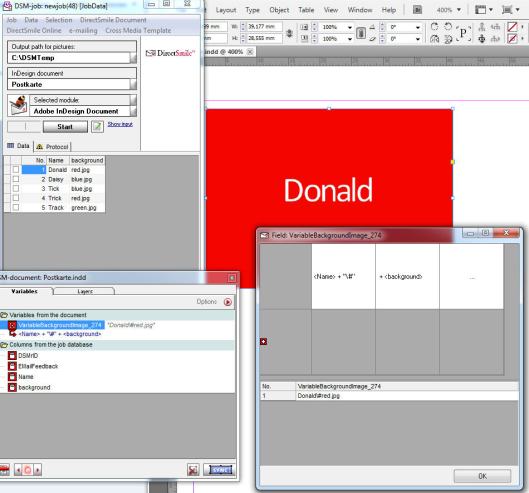
If you want to use this Set online, we need one more thing:
9) If you upload a Set, DirectSmile takes all necessary files automatically. But only our “green.jpg” is used in the Set (as background image and sample image) and not “blue” and “green”. To include them in the upload process we use the FileList. This is a simple text file, please name it “FileList.txt” and list up the files that should be included:
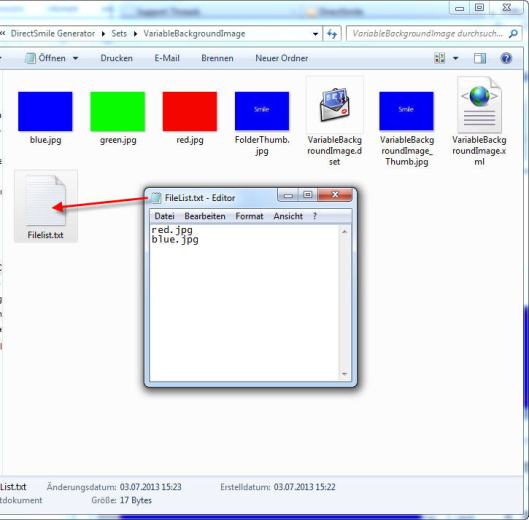
10) Upload your DirectSmile Set

Let me show you one example how you could use your Set with variable background image in a Cross Media campaign.
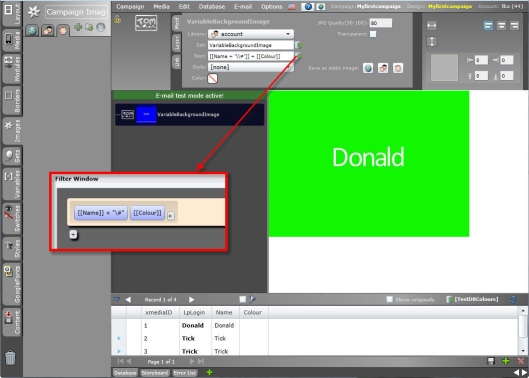
11) Place your Set on a purl and assign the columns for the name and background information (using \# as a separator from the drop down list in the assignment window)
12) You could upload your three images (yellow marks) and use them like buttons, therefore enable the checkbox “Has link” and select your page from the drop down list = a click will reload the page. Click “Add action” to add the “Write to database field” action, select the database column in which you want to write the information and enter the image name as static text. This needs to be done for all three images with the different image names in the “write to database” actions.
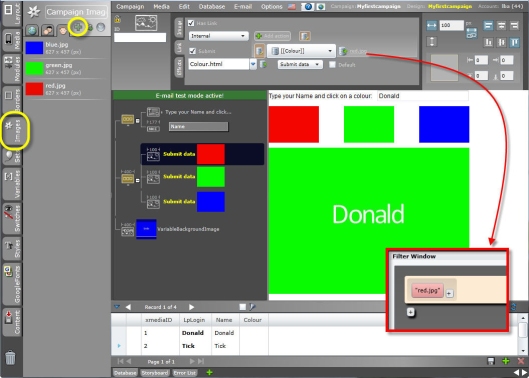
13) That’s it! You can test my page here:
http://training.directsmile.de/ForumVariableBackground
And if you like you could add a hover effect to your images:

I hope you can use this tutorial for your great ideas :-)
Best regards!


Pingback: DirectSmile Set with variable background image and adjusting frames | lbatree
I have a question about your code from
Click to access UsefulVBScriptForCalendars.pdf
Thank you
Hello Dave, the file that you mentioned is from our forum, it would be great if you could post your question in the topic itself:
http://forum.directsmile.com/networks/forum/thread.87553
Best regards
lba